

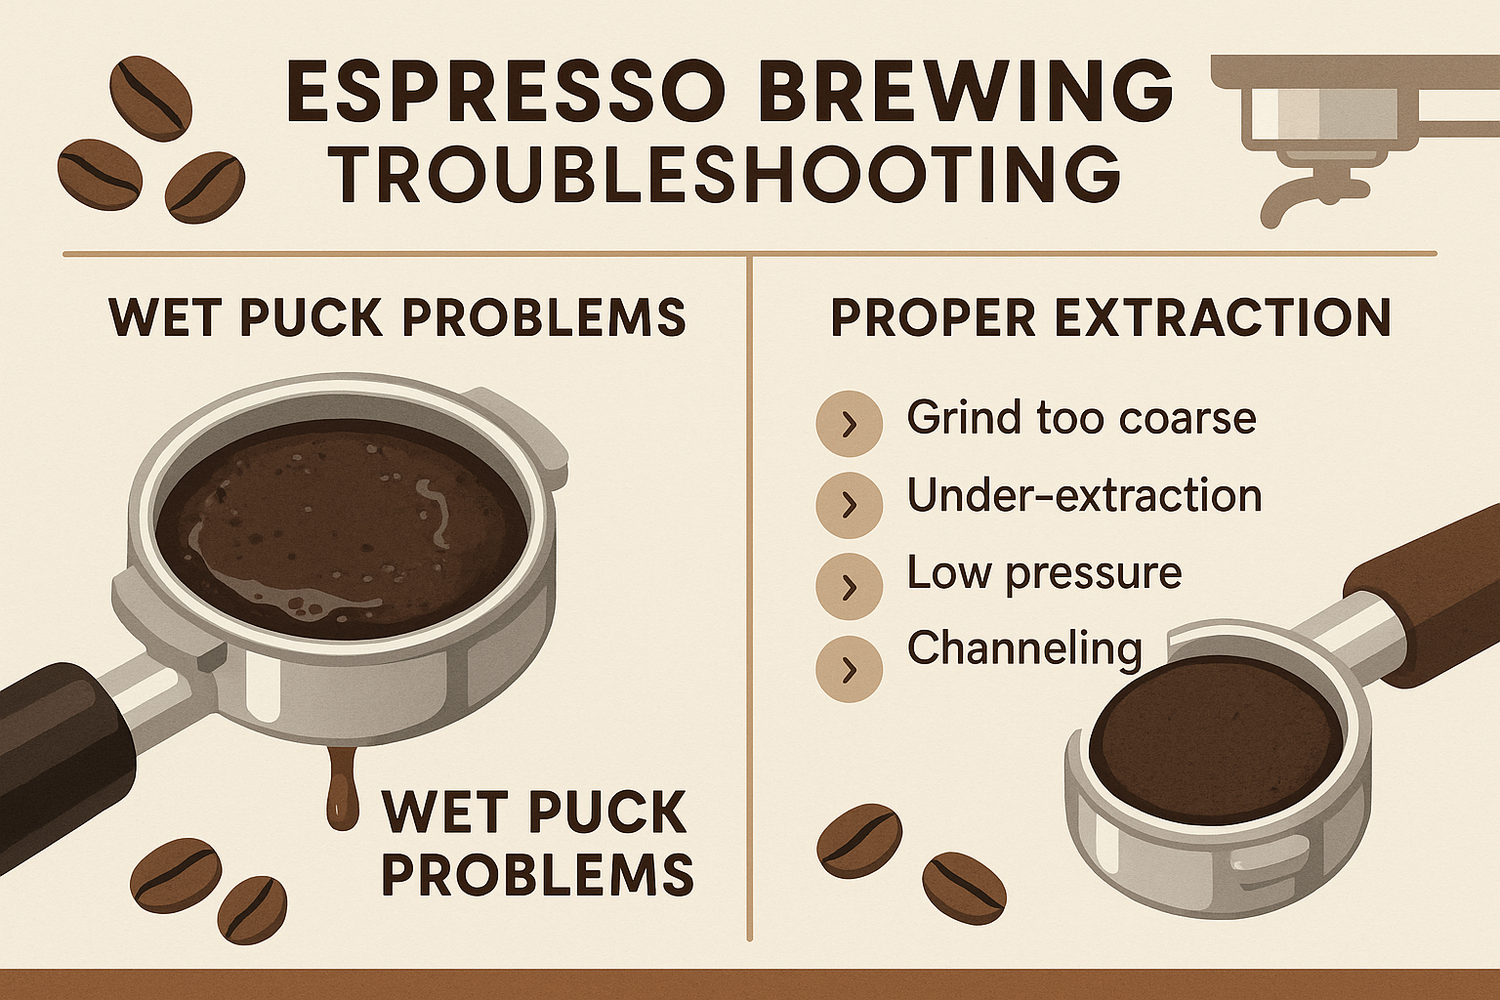
A perfectly brewed espresso should leave behind a dry, solid coffee puck that knocks out of the portafilter in one clean piece. A wet, soupy, or muddy puck is a common issue, and while it doesn't always mean a bad-tasting shot, it often indicates an imbalance in your technique or equipment. Understanding the causes is the first step to fixing it.
Part 1: Primary Causes of a Wet Puck
Here are the most common reasons your coffee puck is too wet:
-
Insufficient Coffee Dose (Under-Dosing): This is the most frequent cause. The coffee grounds act as a physical filter and barrier. If there isn't enough coffee in the basket, there will be too much empty space above it. After brewing, leftover water from the group head and the machine's internal pathways has nowhere to go but onto the top of the puck, making it wet.
-
Grind Size is Too Coarse: A coarse grind creates larger particles with more space between them. Water flows through too quickly and easily, not building up enough pressure for a proper extraction. This also results in a less dense puck that can't absorb or hold back water effectively.
-
Stale or Low-Quality Coffee Beans: Fresh beans release CO₂, which helps create resistance during extraction. Stale beans have degassed and lack this structure. The puck can become fragile and porous, leading to faster water flow and a weaker, wetter result.
-
Inadequate Tamping: While not a direct cause, inconsistent or light tamping can exacerbate channeling. If water finds an easy path through the coffee bed, it doesn't saturate the entire puck evenly, leaving some areas dry and others waterlogged.
Part 2: How to Fix a Wet Puck: Step-by-Step Solutions
Follow this troubleshooting sequence to achieve a drier, more consistent puck.
Solution 1: Adjust Your Coffee Dose and Grind
-
Weigh Your Dose: Always use a scale. Start with a dose that fills your basket appropriately. A good rule of thumb is that after tamping, the coffee should be about 2mm (the thickness of a coin) below the shower screen's "nipple."
-
The "Razor" Tool: Using a dosing tool(like a "Razor", it helps ensure the correct headspace.
-
Grind Finer: If your shot pulls too fast (e.g., a 1:2 ratio in under 20 seconds), make your grind setting finer. A finer grind increases resistance, slows the flow, and creates a denser puck that can better handle the residual water.
Solution 2: Use Fresh, High-Quality Beans
-
Use beans roasted within the last 2-4 weeks. The CO₂ in fresh beans contributes to a more robust and stable puck structure.
Solution 3: Master Your Tamping Technique
-
Apply firm, consistent, and level pressure. The goal is to create a uniform, compact bed that offers even resistance across the entire puck, preventing channeling.
Solution 4: Perform a "Soak" Flush
-
After pulling your shot, leave the portafilter in the group head for another 20-30 seconds. This allows the puck to absorb some of the residual water on top and firm up, making it less soupy when you knock it out. This is especially helpful for machines without a 3-way valve.
Solution 5: Investigate and Maintain Your Machine
-
Backflush: Perform a regular backflush cycle with water (daily) and a cleaning detergent like Cafiza (weekly). This keeps the solenoid valve clear of coffee oils and residue.
-
Check for Scale: In areas with hard water, scale buildup can clog the solenoid valve and other small pathways. Follow the manufacturer's descaling instructions regularly.
-
Understand Your Machine: Get to know your espresso machine: Familiarize yourself with your coffee machine through daily use, focusing on how each variable affects the others (coffee dose, grind size, tamping pressure) to ensure your espresso remains consistently excellent.

发表评论
所有评论在发布前都会经过审核。
此站点受 hCaptcha 保护,并且 hCaptcha 隐私政策和服务条款适用。